
Appearance
Gateway Installation
Use this flow when installing the WisGate gateway and preparing it to receive tiltmeter messages. After the gateway is configured, continue to Collector software setup.
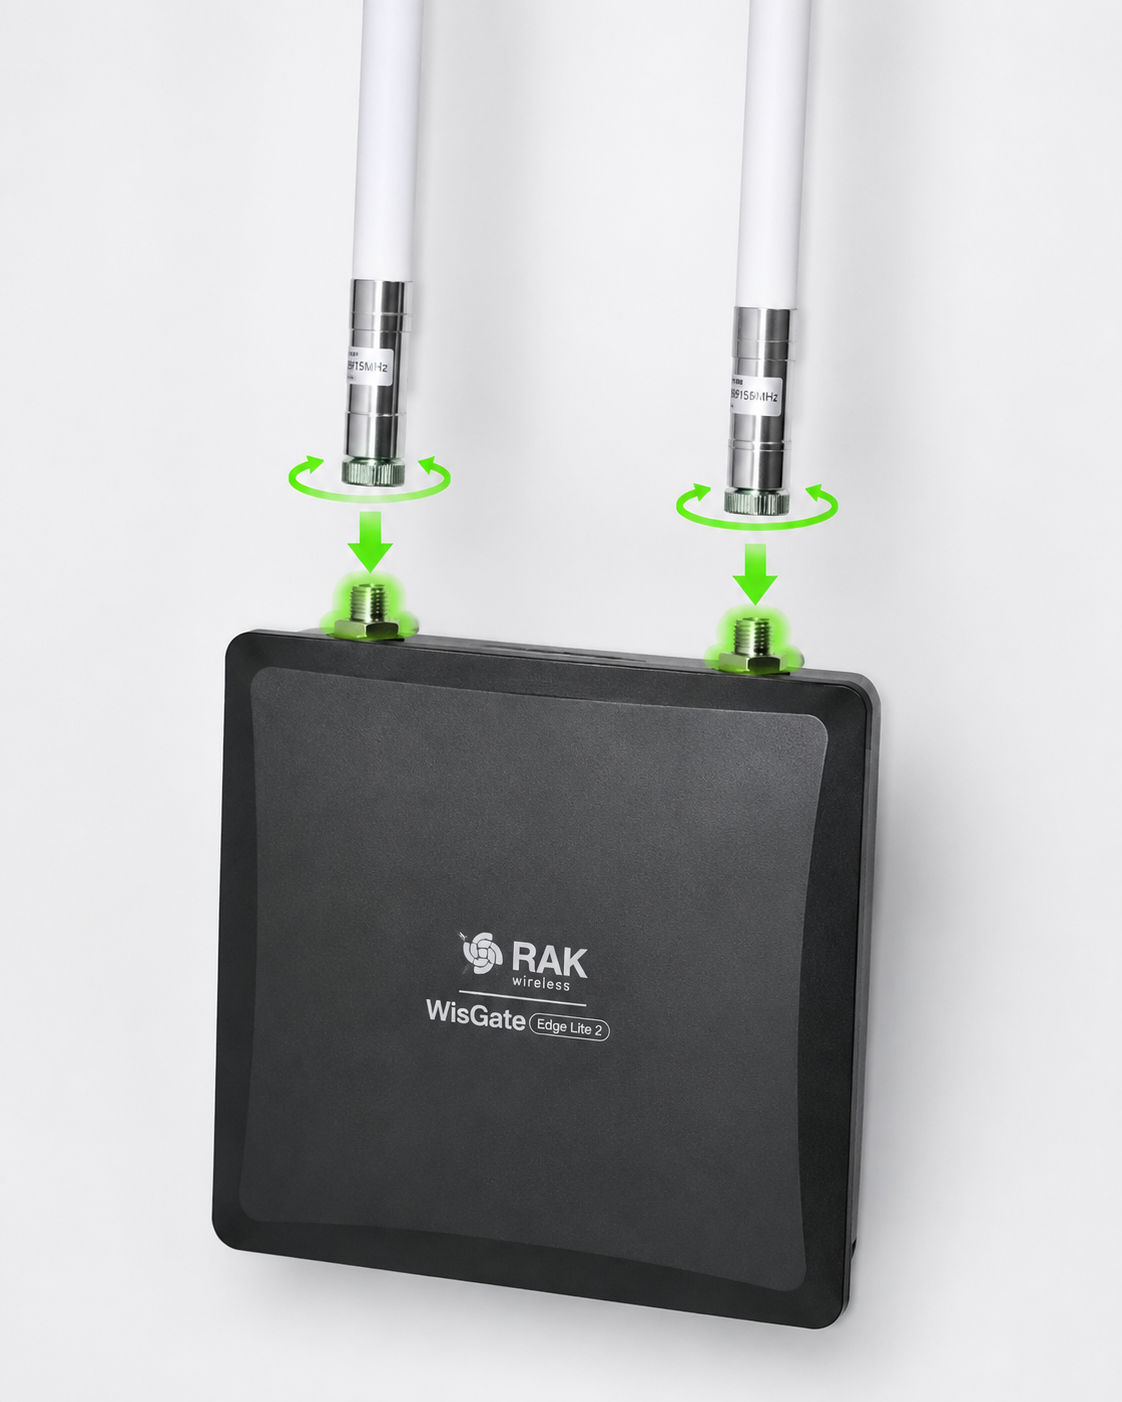
Connect the WisGate antennas
Attach the antennas to the WisGate before powering it on. Tighten them by hand and keep the gateway positioned so the antennas are upright.
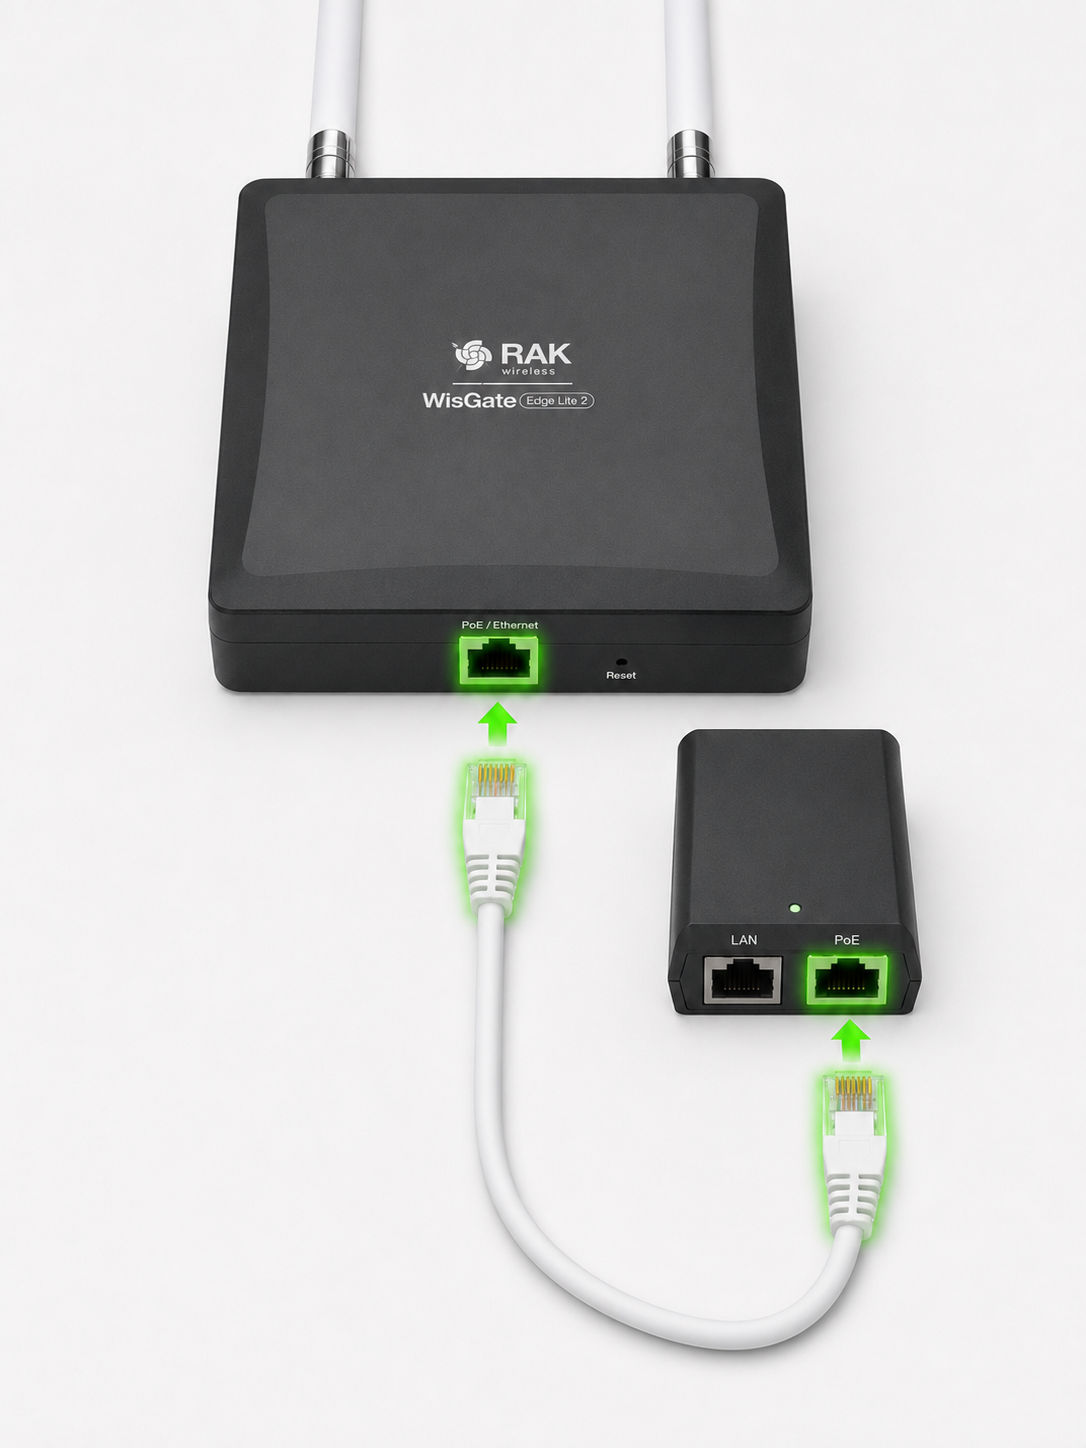
Connect the PoE cable to the WisGate
Plug a network cable into the PoE port on the power adapter, then connect the other end to the Ethernet port on the WisGate.
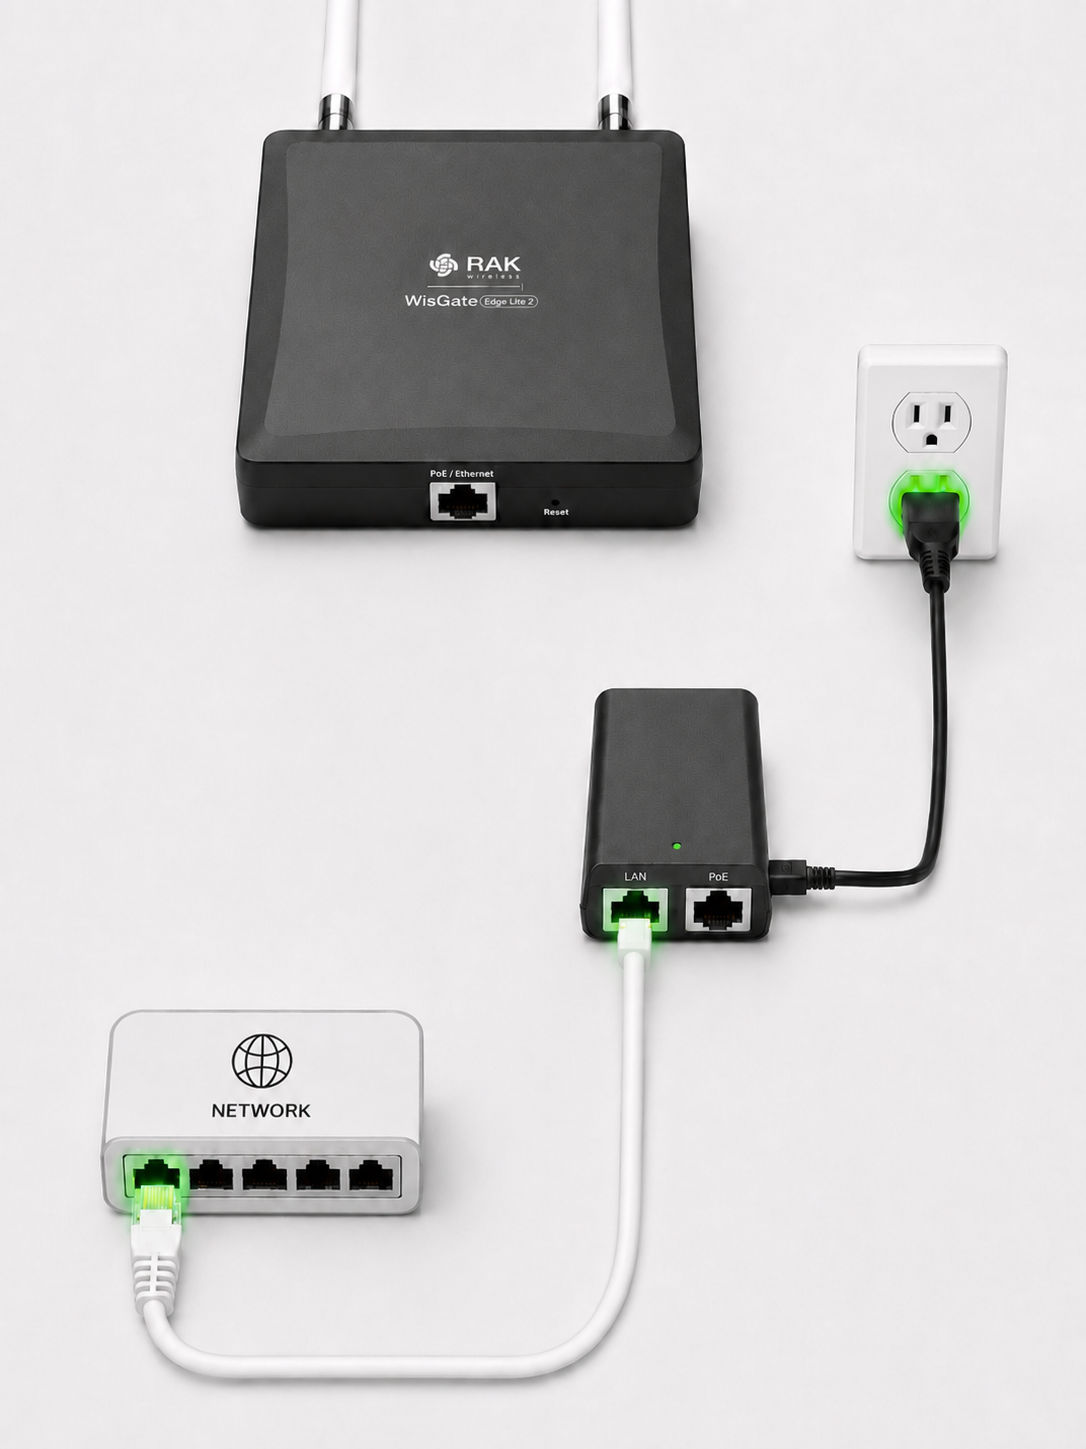
Connect LAN and power
Plug the LAN socket on the power adapter into your network, then connect the power adapter to power. Wait until the rear status lights on the WisGate become green.
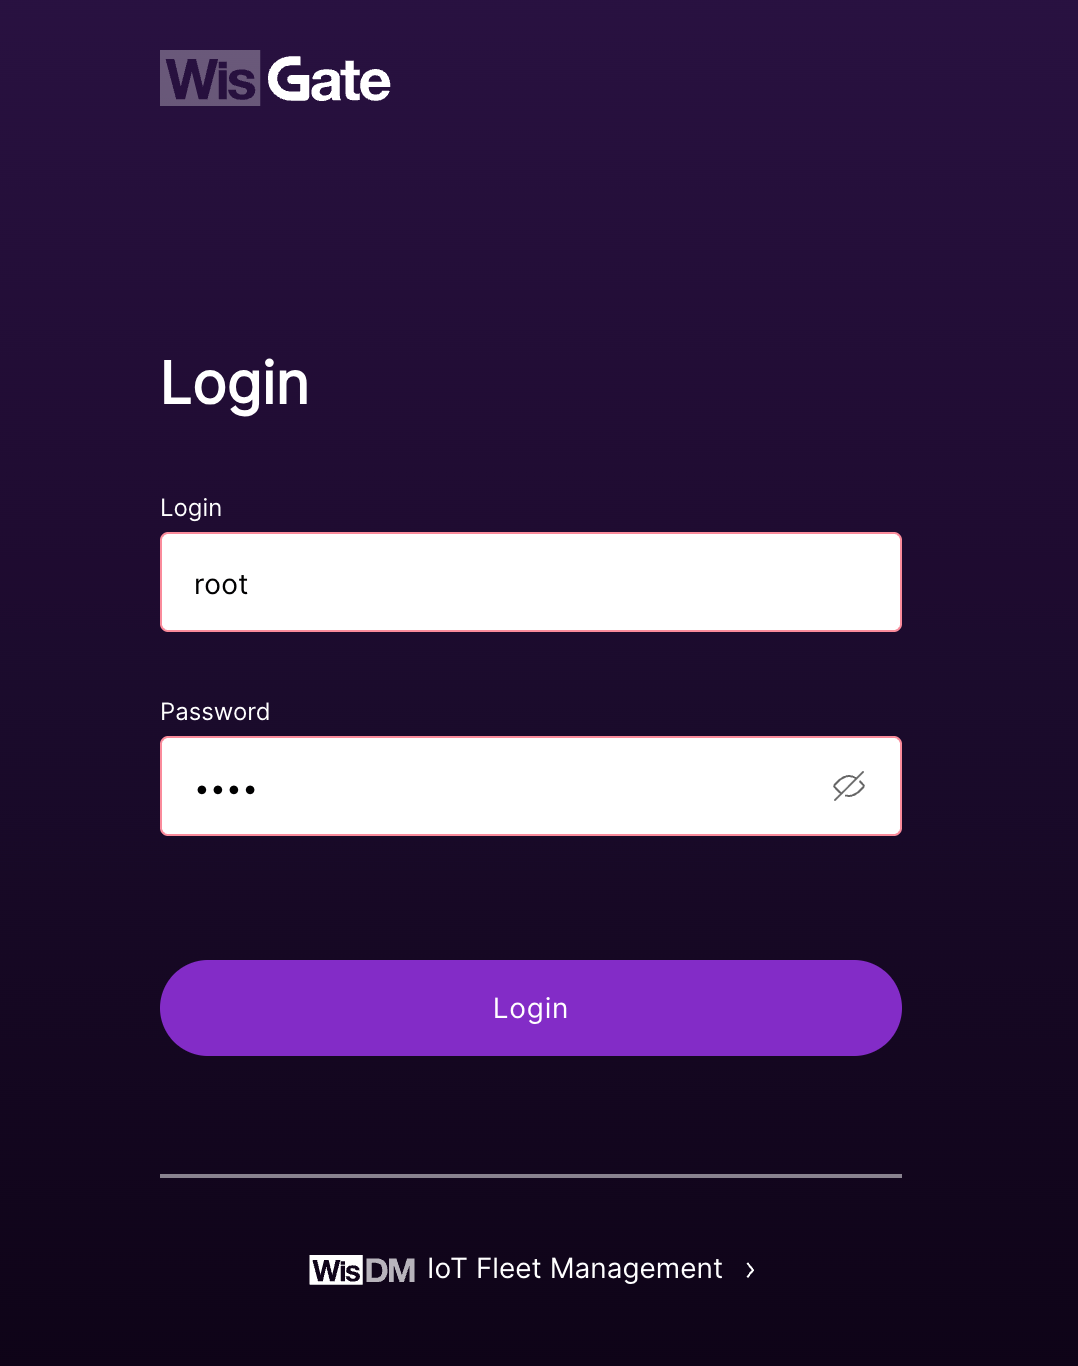
Open the WisGate admin page
By default, the gateway works in Wi-Fi AP mode. Find an SSID named RAK7289_XXXX on your computer's Wi-Fi network list. XXXX is the last two bytes of the gateway MAC address.
Open the gateway admin page in a browser:
| Field | Value |
|---|---|
| Browser address | http://192.168.230.1 |
| Username | root |
| Password | root |
This IP address may be different depending on the network settings. If it does not work, find the WisGate IP address on the network and open that IP instead.
Finding the WisGate IP address
If the default address does not open, first check the router or DHCP server for a connected device named RAK, WisGate, gateway, or similar. If the label on the gateway shows a MAC address, match the last bytes of that MAC address against the DHCP lease list.
If you have shell access on a computer connected to the same network, refresh the ARP table and look for a new device on the local subnet.
On macOS or Linux:
sh
arp -aOn Windows:
powershell
arp -aLook for an address in the same subnet as your computer, for example 192.168.1.x or 192.168.0.x. The WisGate is usually the newly connected device after you plug in LAN and power. If there are many devices, unplug the WisGate LAN cable, run arp -a, plug it back in, wait for the link lights, then run arp -a again and compare the list.
If arp -a does not show the gateway, scan the local subnet from macOS or Linux:
sh
ping 192.168.1.255
arp -a
Replace 192.168.1.255 with your network broadcast address if your computer is on another subnet. For example, if your computer IP is 192.168.0.25, try 192.168.0.255.
Configure the WisGate work mode
After logging in to the WisGate admin page:
- Select Configuration from the sidebar.
- Open the Configurator tab.
- Set Work mode to Built-in network server.
- Check that the Frequency plan matches the country where the gateway is installed.
For Australia, use:
txt
AU915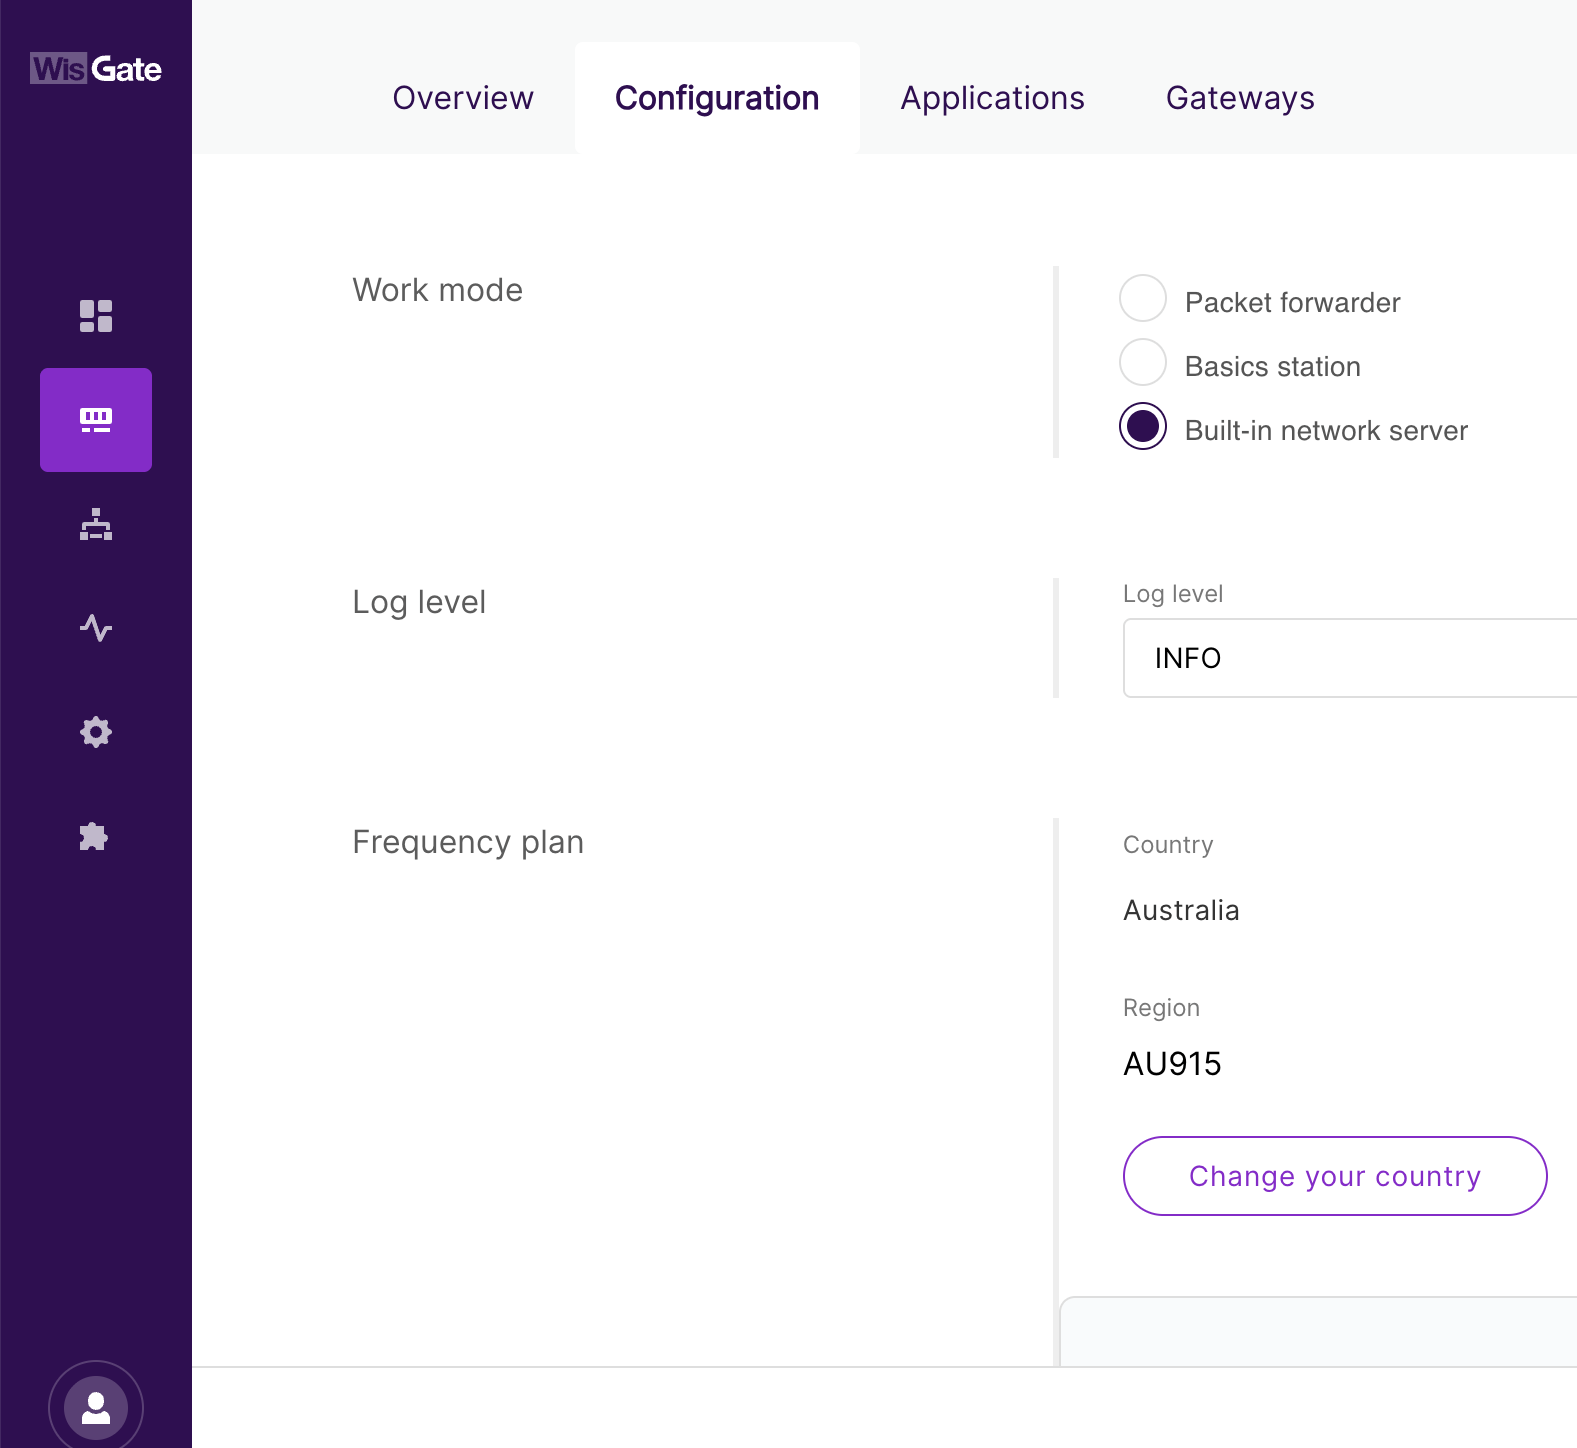
Configure MQTT integration
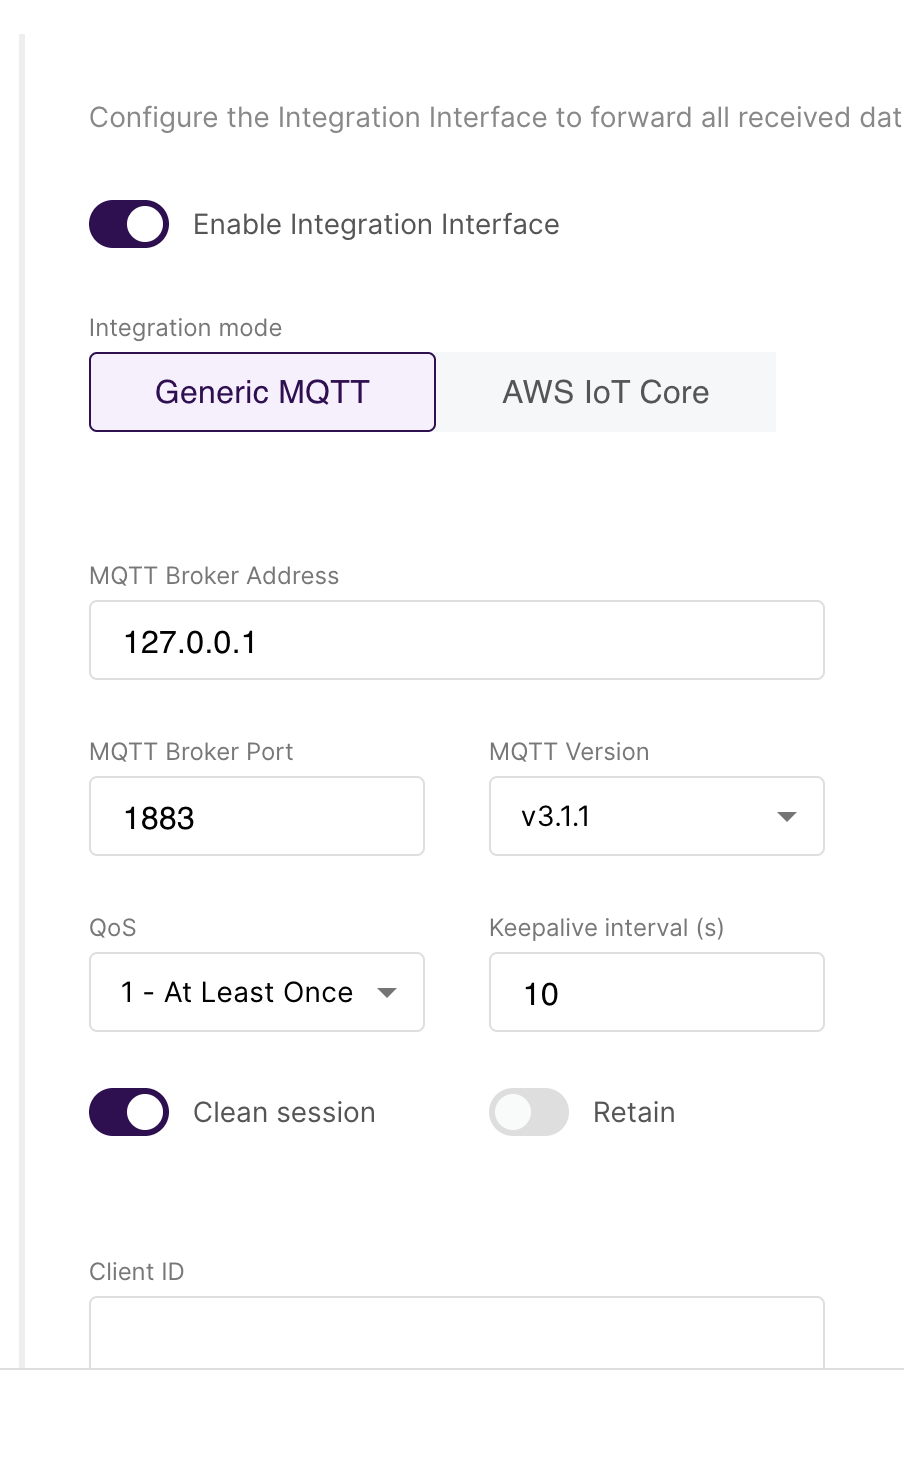
Stay on the WisGate configuration page and scroll to Integration interface parameters.
- Turn on Enable Integration Interface.
- Set Integration mode to Generic MQTT.
- Check that MQTT Broker Address is
127.0.0.1. - Check the broker port. The default port is
1883. - Set MQTT Version to the latest version supported by the WisGate.
If the MQTT port or version is changed in WisGate, enter the same values in the collector setup flow.
Connect the collector to the WisGate MQTT server
Find the WisGate LAN IP address from the WisGate admin page or from the router DHCP lease list.
Enter that IP address as the MQTT Server Address in the collector setup flow. The collector uses this address to connect to the WisGate MQTT broker.
Example:
txt
192.168.1.42Use Check Connection to confirm that the collector can connect and see system MQTT topics. Save the address before continuing.